Common Issues and Solutions in Ceiling Channel Installation
2025-05-22 16:30:58
1. Introduction
Ceiling channels (e.g., light steel keel ceiling channels) serve as the core support structure for architectural ceiling systems. Their installation quality directly impacts the ceiling’s stability, aesthetics, and functional performance. However, improper installation in practical construction can lead to issues such as keel deformation, panel cracking, and pipeline conflicts. This article comprehensively analyzes common pain points in ceiling channel installation, offering practical solutions and construction guidelines for practitioners and property owners.
2. Targeted Solutions
2.1 Precise Layout and Substrate Preparation
Layout Key Points:
Use laser levels or chalk lines for 3D layout, ensuring keel edge alignment errors ≤2mm.
Mark hanger positions with spacing controlled at 800–1200mm, avoiding equipment locations like lighting fixtures and air vents.
Substrate Preparation:
Repair hollow or uneven ceiling surfaces, maintaining flatness errors ≤3mm/2m.
Pre-drill concrete substrates for expansion bolt installation to ensure secure hanger fixation.
2.2 Integrated Pipeline Planning and Avoidance Principles
Design Coordination:
Hold multi-party coordination meetings before construction to clarify ceiling elevation and pipeline layout priorities (e.g., fire pipes > HVAC ducts > electrical conduits).
Use BIM technology for collision simulation between ceilings and pipelines, adjusting conflict points in advance.
Avoidance Methods:
When pipelines must pass through keels, use dedicated sleeves or reinforced keels.
Heavy equipment (e.g., fans) requires separate hanging brackets to avoid direct fixation on ceiling keels.
2.3 Keel Material Selection and Node Reinforcement
Material Standards:
Prioritize hot-dip galvanized light steel keels with a wall thickness ≥1.0mm, zinc coating adhesion ≥90%, and excellent corrosion resistance.
Wooden keels must undergo fireproofing and anti-corrosion treatments (e.g., applying fire-resistant coatings or preservatives) and are only suitable for non-humid areas.
Node Construction:
Connect main keels to hangers via fittings; secondary keels are fixed to main keels using matching clips or self-tapping screws to ensure no looseness.
Reinforce keel corners with additional brackets (e.g., L-shaped angle brackets) to enhance node strength.
2.4 Panel Installation Process Optimization
Keel Spacing Control:
Gypsum board ceiling keel spacing ≤600mm; heavy panels (e.g., cement fiberboard) spacing ≤400mm to prevent mid-panel sagging.
Joint Treatment:
Leave 3–5mm gaps between panel edges, fill with joint compound, and apply anti-crack tape or fiberglass mesh.
Curved ceilings require pre-bending of panels to ensure smooth transitions.
2.5 Functional Performance Enhancement Measures
Sound Insulation:
Fill keel cavities with high-density rock wool (bulk density ≥80kg/m³) and cover with soundproof felt.
Install double-layer panels with staggered seams to reduce sound wave transmission paths.
Fireproofing Construction:
Select keels and panels with a fire resistance rating of Class A (e.g., calcium silicate boards).
Seal pipeline gaps penetrating the ceiling with fireproof putty to meet fire code requirements.
3. Key Points for Construction Quality Inspection
3.1 Appearance Inspection
Check for flat ceiling surfaces, uniform seams without cracking, and straight internal/external corners.
Verify tight connections between equipment (e.g., lighting fixtures, air vents) and the ceiling, with no visible gaps.
3.2 Structural Stability Testing
Gently shake the keel framework to check for looseness or abnormal sounds.
Ensure hanger spacing and keel connection methods comply with design drawings, with complete hidden engineering acceptance records.
3.3 Functional Testing
Sound Insulation: Measure sound insulation levels using acoustic testing equipment to meet design standards (e.g., ≥40dB for residential buildings).
Fire Resistance: Verify material fire resistance test reports to ensure compliance with building fire zone requirements.
4. Conclusion
Ceiling channel installation is a technically demanding systematic project requiring end-to-end control from design planning and material selection to construction techniques. By emphasizing precise layout, pipeline pre-coordination, keel node reinforcement, and scientific panel installation, common issues can be effectively avoided, ensuring the ceiling system balances safety, functionality, and aesthetics. For property owners or construction teams, selecting high-quality materials, hiring professional teams, and strictly adhering to acceptance standards are key to delivering high-quality ceiling projects.
Keywords: Ceiling channel installation, common issues, solutions, construction guidelines, quality inspection
SEO Optimization: This translation emphasizes technical precision, material standards, and functional enhancements while integrating keywords to improve search engine visibility.
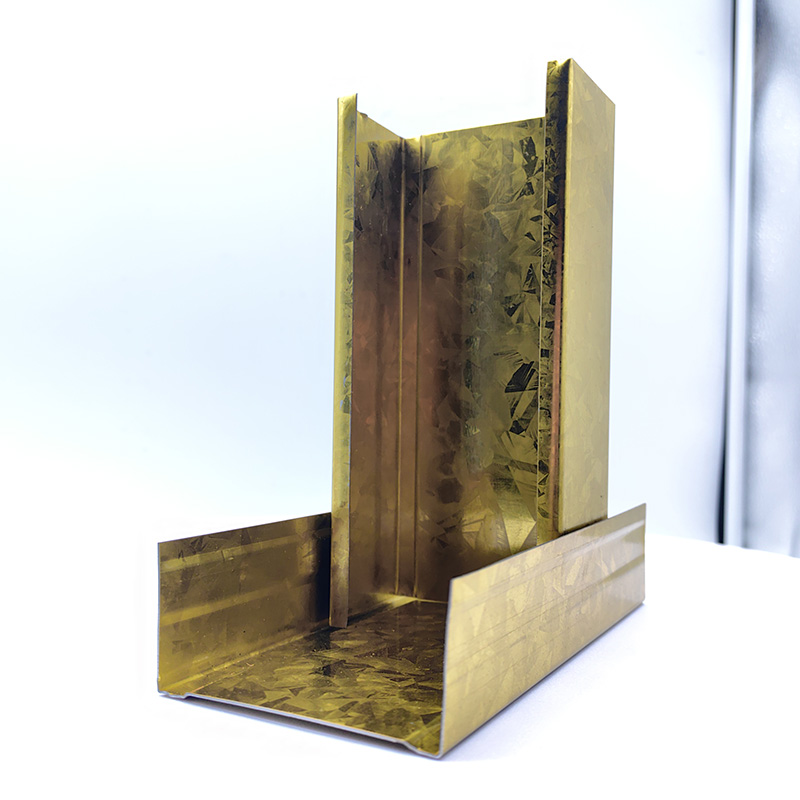
A Double Anti-Rust Gold Partition Wall Stud is a type of steel stud commonly used in the co...
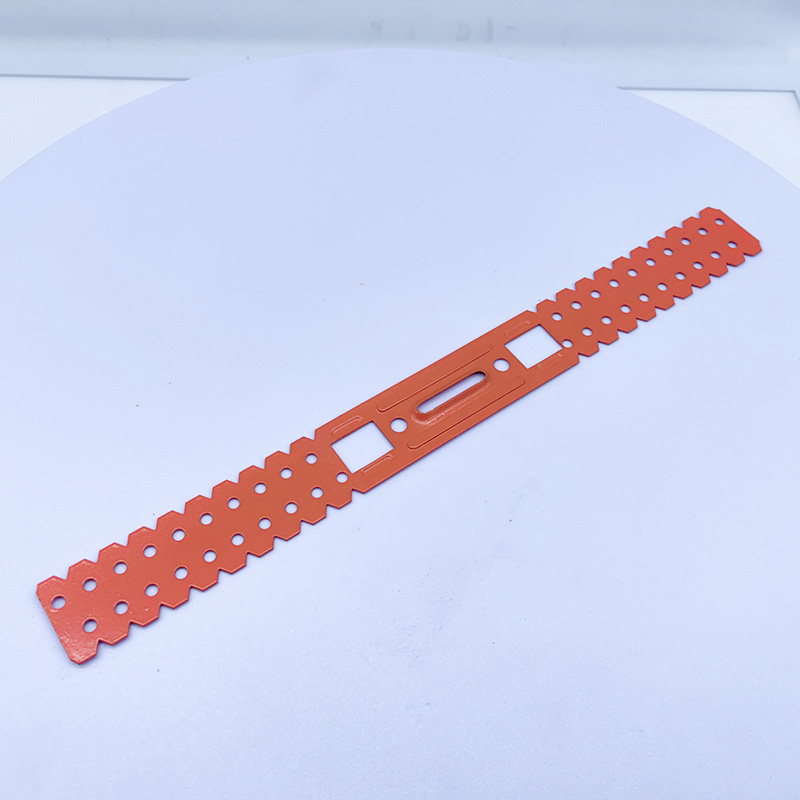
A CD UD Profile Furring Clip U Clamp is a type of metal fastening component used in the ins...
A 60mm Ceiling Grid refers to a type of suspended ceiling system, commonly used in commerci...
38mm Main Tee and 50mm Main Tee refer to the widths of the main tee profiles used in suspen...