DIY Corner Wall Angle Finishing and Professional Results
2025-06-27 03:02:20
I. Introduction: A DIY Journey to Craft Exquisite Home Corners
In home decoration, DIY corner wall treatments have gained immense popularity among homeowners striving to elevate the quality of their living spaces. Corners are susceptible to damage and highly noticeable, so the way they are handled directly influences the overall aesthetics and feel of the decoration. Having seamless corner edges and a polished finish not only safeguards corners from collision - related damage but also imparts a touch of elegance to the home environment. This article will share a range of practical DIY corner wall treatment techniques to help you achieve outstanding results without relying on a professional construction team.
II. Preparations for DIY Corner Wall Treatment
2.1 Tool Preparation
Accurate corner wall treatment starts with having the right basic measuring tools. A tape measure is essential for precisely measuring the length of the corner. Opt for a model with clear markings and good flexibility to enhance measurement accuracy. A protractor is used to determine the corner angle, and whether you choose a semi - circular or digital one, ensure it offers high measurement precision. The selection of cutting tools depends on the material of the corner bead. A utility knife is suitable for cutting softer materials like plastic; when using it, pay attention to the blade's sharpness. For stainless - steel or iron corner beads, an electric cutter is more efficient, but strict safety precautions must be followed. Among sanding tools, sandpaper is ideal for initial sanding and detail work, with different grits available to meet various sanding needs. A grinding machine can quickly handle large areas of unevenness but must be used strictly in accordance with operating guidelines.
2.2 Material Selection
Corner beads come in a variety of materials. Plastic corner beads are budget - friendly, easy to install, and available in a wide range of colors. For a more robust option, stainless - steel or iron corner beads are excellent choices. Stainless - steel corner beads offer high strength, corrosion resistance, and a sleek appearance, providing long - term protection for corners. Iron corner beads, when properly treated, can also offer good durability. Composite corner beads combine the advantages of multiple materials, offering both aesthetics and durability. Auxiliary materials such as putty and glue are also crucial. The putty should have good filling properties and be easy to sand. The glue should be selected based on the corner bead material. For stainless - steel or iron corner beads, a strong adhesive suitable for metal should be used to ensure a firm bond.
2.3 Wall Base Treatment
Before starting the construction, the wall must be thoroughly cleaned. Use a broom and cloth to remove dust, stains, and loose particles. For stubborn stains, a cleaner can be used. After cleaning, carefully inspect the wall's flatness. If there are slight depressions or protrusions, use putty for local repairs. Once dry, sand the area flat to lay a solid foundation for subsequent work.
III. Step - by - Step Process and Techniques for DIY Corner Wall Treatment
3.1 Measurement and Marking
When measuring the corner angle and length, take multiple measurements and average the results to improve accuracy. Measure the length from one end of the corner to the other to ensure the data covers the entire area. When marking the cutting and installation positions, use a pencil and a level to ensure straight lines and precise positions. During the marking process, it's advisable to leave a small margin to avoid the corner bead being too short due to measurement errors.
3.2 Corner Bead Cutting
Cut the corner bead according to the measured data. Keep the cutting tool stable and operate at a consistent speed. When cutting stainless - steel or iron corner beads, specialized tools may be required, and proper protection should be worn to prevent metal shavings from flying. For corner beads with special angles, practice cutting on scrap material first, adjust the angle, and then proceed with the actual cutting.
3.3 Corner Bead Installation
Choose the appropriate fixing method based on the corner bead material. When applying glue to stainless - steel or iron corner beads, ensure even coverage on the back of the corner bead to ensure a strong bond. When using fixing tools such as nails or screws, distribute the fixing points evenly. During installation, use a square or a level to assist in ensuring the corner bead fits snugly against the corner and is perpendicular. If installing multiple layers of corner beads, proceed from the innermost to the outermost layer, ensuring tight connections between each layer.
3.4 Putty Filling and Sanding
When mixing putty, follow the product instructions precisely to mix the materials in the correct proportions and stir until there are no lumps. Use a scraper to fill the gaps between the corner bead and the wall with putty, ensuring a full fill to avoid hollows. After the putty has dried initially, use sandpaper for the first sanding to remove surface protrusions. Once the putty is completely dry, perform a second, fine sanding until the surface is smooth and flat. During sanding, use a vacuum cleaner to promptly remove dust and keep the construction environment clean.
IV. Advanced Techniques for Enhancing Professional Results
4.1 Color Coordination Techniques
When choosing the color of the corner bead, coordinate or contrast it with the wall color. A corner bead in the same color as the wall creates a unified visual effect, suitable for minimalist styles. Choosing a contrasting color can highlight the corner lines and add a design element to the space. Additionally, you can use paint or stickers to decorate the corner bead personally, such as painting patterns or sticking floral stickers, making the corner a focal point in the home.
4.2 Key Points for Detail Handling
When dealing with the junctions between the corner and the ceiling or floor, ensure a smooth transition of the corner bead. Use putty to repair and sand the junctions to make them blend seamlessly. During construction, avoid cracks and bubbles. Apply putty evenly to ensure a dense fill. Before installing the corner bead, check that the wall and the corner bead surface are dry and clean to prevent bubbles caused by impurities.
4.3 Tool Usage Optimization
To improve cutting accuracy and efficiency, calibrate and adjust the tools before cutting. Using auxiliary tools such as right - angle fixtures can better position the corner bead during installation, improving accuracy. During sanding, choose the appropriate sandpaper grit according to different stages, sanding from coarse to fine to improve both efficiency and surface quality.
V. Common Problems and Solutions
5.1 Summary of Common Problems
During DIY corner wall treatment, you may encounter issues such as loose or unstable corner beads, which affect the corner's protective effect; uneven putty surfaces with depressions or protrusions, detracting from the overall aesthetics; and inaccurate cutting angles of the corner beads, resulting in large gaps at the joints and affecting the corner's appearance and quality.
5.2 Targeted Solutions
If the corner bead is loose, first clean the original bonding surface, then reapply an adequate amount of glue or reinforce the fixing tools. For uneven putty surfaces, use putty for local filling or sanding corrections, repeating the filling and sanding steps until the surface is flat. If there is a deviation in the cutting angle of the corner bead, sand the cutting edge for adjustment or cut a new corner bead to ensure a tight fit at the joints.
VI. Trends and Innovations in DIY Corner Wall Treatment
6.1 Application of New Materials
With the popularity of environmental protection concepts, new types of eco - friendly and easy - to - install corner bead materials are constantly emerging. For stainless - steel or iron corner beads, there are also innovations in terms of surface treatments to enhance their corrosion resistance and appearance. Meanwhile, materials with special functions such as self - repairing and antibacterial corner beads are gradually entering the market, offering more functional choices for corner wall treatment.
6.2 Tool and Technology Innovation
The emergence of intelligent measuring and cutting tools has greatly improved the accuracy and efficiency of corner wall treatment. These tools can automatically obtain measurement data and perform precise cuts, reducing human errors. In addition, new technologies and methods are constantly simplifying the operation process, making it easier for even novice decorators to complete corner wall treatment work, promoting the popularization and development of DIY corner wall treatment technology.
VII. Conclusion: Take Action and Achieve Perfect Corners
DIY corner wall treatment is not a difficult task. Through thorough preparations, standardized construction processes, practical advanced techniques, and effective solutions to common problems, everyone can achieve smooth corner edges and a professional finish. With the continuous innovation and development of materials and technologies, DIY corner wall treatment will become even simpler and more diverse. We look forward to you applying the knowledge you've learned to create unique and exquisite corners in your home, adding a special charm to your living space.

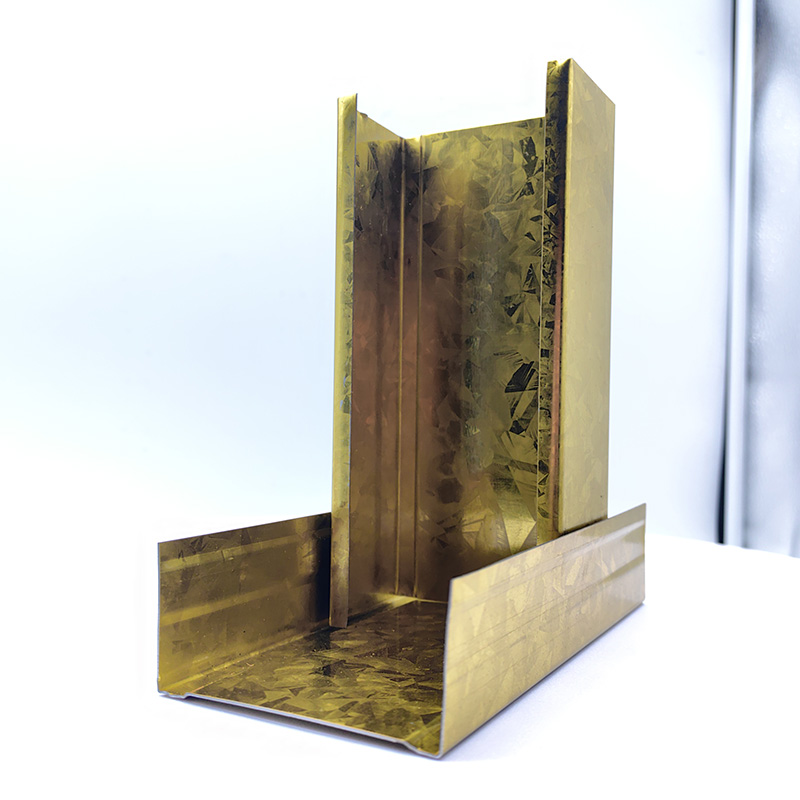
A Double Anti-Rust Gold Partition Wall Stud is a type of steel stud commonly used in the co...

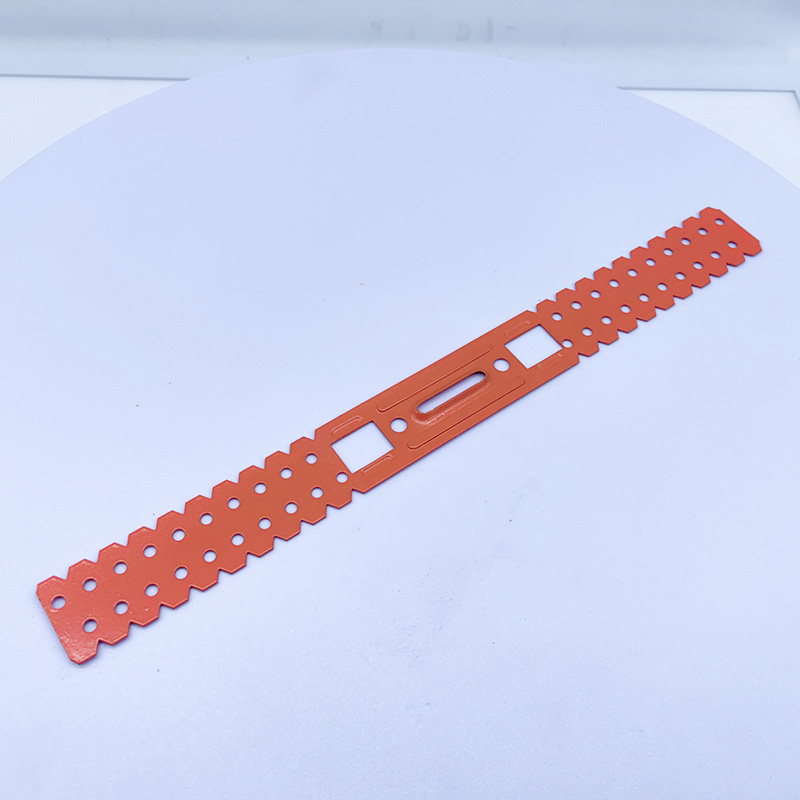
A CD UD Profile Furring Clip U Clamp is a type of metal fastening component used in the ins...

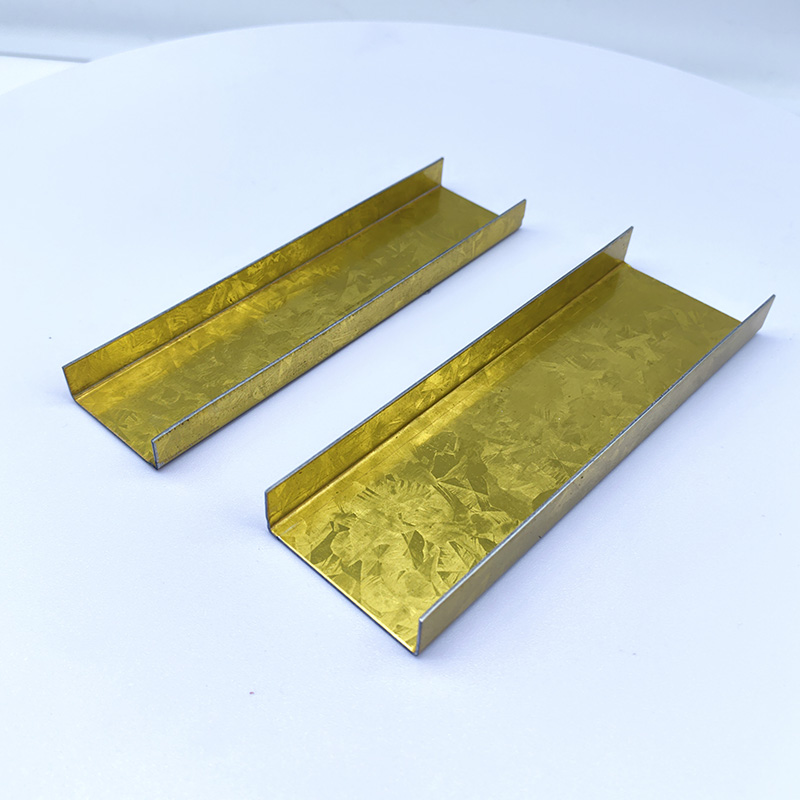
A 60mm Ceiling Grid refers to a type of suspended ceiling system, commonly used in commerci...

38mm Main Tee and 50mm Main Tee refer to the widths of the main tee profiles used in suspen...

